Xamarin + Azure: Part 2 – Extend the Sample App
- Posted: November 26, 2016
- By: Chervine Bhiwoo
- Category: Azure
- Comment: 0
Scope
The following article covers a presentation and demo at Xamarin Dev Days in Mauritius. The article demonstrates how to get started with Azure Mobile Apps and benefit the powers of the cloud in terms of scalability, Offline Sync and Data Analytics.
This is the second part of the series where we’ll extend the sample app discussed in part one.
The objective of this article is to build on the sample app discussed in part 1 and add custom logic.
In this demo, an App that will allow the attendees of Xamarin Dev Days to give feedback to the organizers will be created. The application will store the attendee name, the attendee feedback and a sentiment score.
Modifying the Cloud Back End
Adding the Data Object
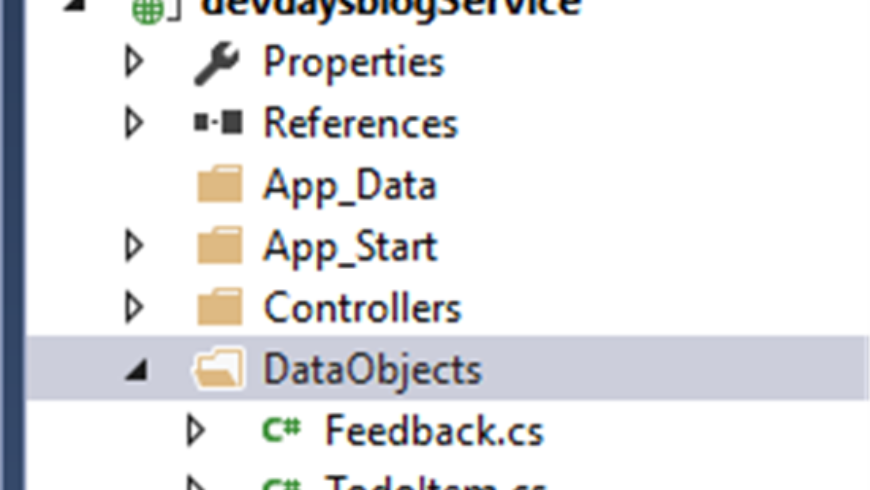
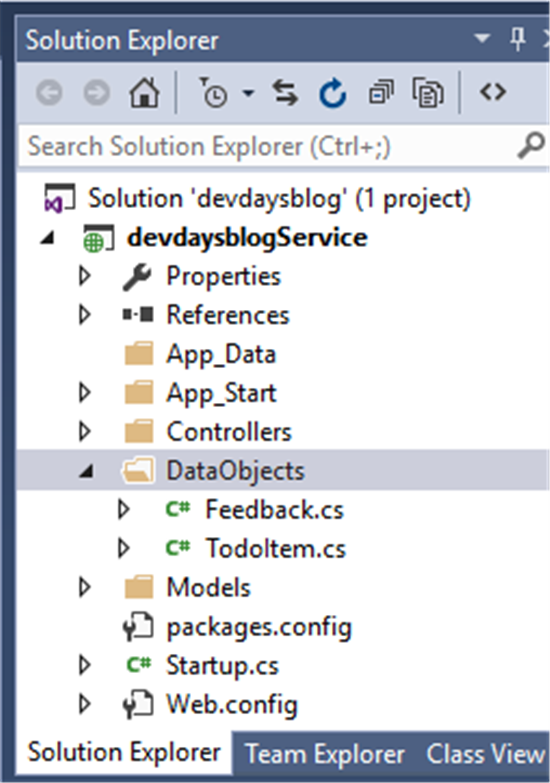
The first step is to add the data object. Therefore, create a new call called Feedback.cs in the DataObjects folder
Make sure that the class inherits from EntityData from Microsoft.Azure.Mobile.Server and add the attributes of the model as below.
Make sure that the class inherits from EntityData from Microsoft.Azure.Mobile.Server and add the attributes of the model as below.
public class Feedback: EntityData
{
public string Name { get; set; }
public string FeedbackText { get; set; }
public double SentimentScore { get; set; }
}

Adding the controller
In the controller, the following methods will need to be added.

With the Microsoft Azure SDK all the codes do not have to be typed from scratch, instead, scaffolding can be used.
Please follow steps below to scaffold the codes for the controller.
Please follow steps below to scaffold the codes for the controller.
i. Right-Click on the Controller Folder and click Add > Controller

ii. Select Azure Table Apps controller and click add

iii. Select the model, context and click add

iv. The following codes will be automatically generatedPlease refer to the comments to get more information about each code block.
public class FeedbackController : TableController<Feedback>{
protected override void Initialize(HttpControllerContext controllerContext)
{
base.Initialize(controllerContext);
devdaysblogContext context = new devdaysblogContext();
DomainManager = new EntityDomainManager<Feedback>(context, Request);
}
// GET tables/Feedback
//Select all rows from the feedback table
public IQueryable<Feedback> GetAllFeedback()
{
return Query();
}
// GET tables/Feedback/48D68C86-6EA6-4C25-AA33-223FC9A27959
// Select a specific row in the feedback table
public SingleResult<Feedback> GetFeedback(string id)
{
return Lookup(id);
}
// PATCH tables/Feedback/48D68C86-6EA6-4C25-AA33-223FC9A27959
//Update a row in the feedback table
public Task<Feedback> PatchFeedback(string id, Delta<Feedback> patch)
{
return UpdateAsync(id, patch);
}
// POST tables/Feedback
// Insert a new row in the feedback table
public async Task<IHttpActionResult> PostFeedback(Feedback item)
{
Feedback current = await InsertAsync(item);
return CreatedAtRoute(“Tables”, new { id = current.Id }, current);
}
// DELETE tables/Feedback/48D68C86-6EA6-4C25-AA33-223FC9A27959
//Delete a specific row in the table
public Task DeleteFeedback(string id)
{
return DeleteAsync(id);
}
}
v. Add migrations
Since code first approach is used here, code first migrations will need to be added in the project to the project. Follow the steps here  to get started with the migrations.
to get started with the migrations.vi. Now that the back-end code is ready, it can be deployed to Azure App Service
In the portable class library, add the following:
1. Feedback.cs class
Add the properties that will be required to capture the feedback and the property ID uniquely identify each record and the property version which will be used internally by Azure App Service to keep track of which version of the record is being modified.
public class Feedback{
string id;
string name;
string feedbacktext;
double sentimentscore;
//represents the ID of the record
[JsonProperty(PropertyName = “id”)]
public string Id
{
get { return id; }
set { id = value; }
}
[JsonProperty(PropertyName = “Name”)]
public string Name
{
get { return name; }
set { name = value; }
}
[JsonProperty(PropertyName = “FeedbackText”)]
public string FeedbackText
{
get { return feedbacktext; }
set { feedbacktext = value; }
}
[JsonProperty(PropertyName = “SentimentScore”)]
public double SentimentScore
{
get { return sentimentscore; }
set { sentimentscore = value; }
}
// used internally by Azure App Service to keep track of which version of the record I being modified.
[Version]
public string Version { get; set; }
}
2. Add the class FeedbackManager.cs with the following variables and methods
//singleton pattern to use only one instance of the manager
static FeedbackManager defaultInstance = new FeedbackManager();
//Provides basic access to a Microsoft Azure Mobile Service.
MobileServiceClient client;
//Provides operations on a table for a Microsoft Azure Mobile Service.
IMobileServiceTable<Feedback> feedbackTable;
//constructor – sets the client and the feedback table
private FeedbackManager()
{
this.client = new MobileServiceClient(Constants.ApplicationURL);
this.feedbackTable = client.GetTable<Feedback>();
}
//Returns the default manager. Used for the Singleton
public static FeedbackManager DefaultManager
{
get
{
return defaultInstance;
}
private set
{
defaultInstance = value;
}
}
//returns the current mobile service client
public MobileServiceClient CurrentClient
{
get { return client; }
}
//retrieves the feedback from the backend
public async Task<ObservableCollection<Feedback>> GetFeedbacksAsync(bool syncItems = false)
{
try
{
IEnumerable<Feedback> items = await feedbackTable.ToEnumerableAsync();
return new ObservableCollection<Feedback>(items);
}
catch (MobileServiceInvalidOperationException msioe)
{
Debug.WriteLine(@”Invalid sync operation: {0}”, msioe.Message);
}
catch (Exception e)
{
Debug.WriteLine(@”Sync error: {0}”, e.Message);
}
return null;
}
//save feedback item in the backend
public async Task SaveFeedbackAsync(Feedback item)
{
if (item.Id == null)
{
await feedbackTable.InsertAsync(item);
}
else
{
await feedbackTable.UpdateAsync(item);
}
}
3. Add the Feedback Page
i. XAML SnippetThe XAML codes has 3 main parts, namely, the TextBoxes (Entry), the Add button and a list view.
<StackLayout Orientation=”Vertical”>
<Entry x:Name=”newItemName” Placeholder=”Enter your name” />
<Entry x:Name=”newFeedbackText” Placeholder=”Enter your feedback” />
</StackLayout>
<Button Text=”Save” MinimumHeightRequest=”30″ Clicked=”OnAdd” />
<ListView x:Name=”todoList”
IsPullToRefreshEnabled=”true” Refreshing=”OnRefresh”
Grid.Row=”1″>
<ListView.ItemTemplate>
<DataTemplate>
<ViewCell>
<StackLayout Orientation=”Horizontal” HeightRequest=”30″>
<Label Text=”{Binding Name}” />
<Label Text=”{Binding FeedbackText}” />
</StackLayout>
</ViewCell>
</DataTemplate>
</ListView.ItemTemplate>
</ListView>
ii. The Feedback.xaml.cs code
The following methods interacts with the Manager Class to add and retrieve feedbacks.
async Task AddItem(Feedback item)
{
await manager.SaveFeedbackAsync(item);
todoList.ItemsSource = await manager.GetFeedbacksAsync();
}
private async Task RefreshItems(bool showActivityIndicator, bool syncItems)
{
todoList.ItemsSource = await manager.GetFeedbacksAsync(syncItems);
}
The following codes handles the events generated by the application
public async void OnAdd(object sender, EventArgs e)
{
var feedback = new Feedback
{
Name = newItemName.Text,
FeedbackText = newFeedbackText.Text
};
await AddItem(feedback);
newItemName.Text = string.Empty;
newItemName.Unfocus();
}
public async void OnRefresh(object sender, EventArgs e)
{
var list = (ListView)sender;
Exception error = null;
try
{
await RefreshItems(false, true);
}
catch (Exception ex)
{
error = ex;
}
finally
{
list.EndRefresh();
}
if (error != null)
{
await DisplayAlert(“Refresh Error”, “Couldn’t refresh data (” + error.Message + “)”, “OK”);
}
}
public async void OnSyncItems(object sender, EventArgs e)
{
await RefreshItems(true, true);
}
4. The last part is to modify the App.cs page to launch the Feedback page by default when the App launches.
MainPage = new FeedbackPage();
5. Run the application and test

You can also verify in the database. The Feedback table will be created and the new record will be inserted.

Conclusion
In this article, it was demonstrated how easily we can extend the sample application and add new features to the application by using the Azure SDK and Azure Mobile Services. In the next article, we’ll discuss how to add offline sync capabilities to the application.

